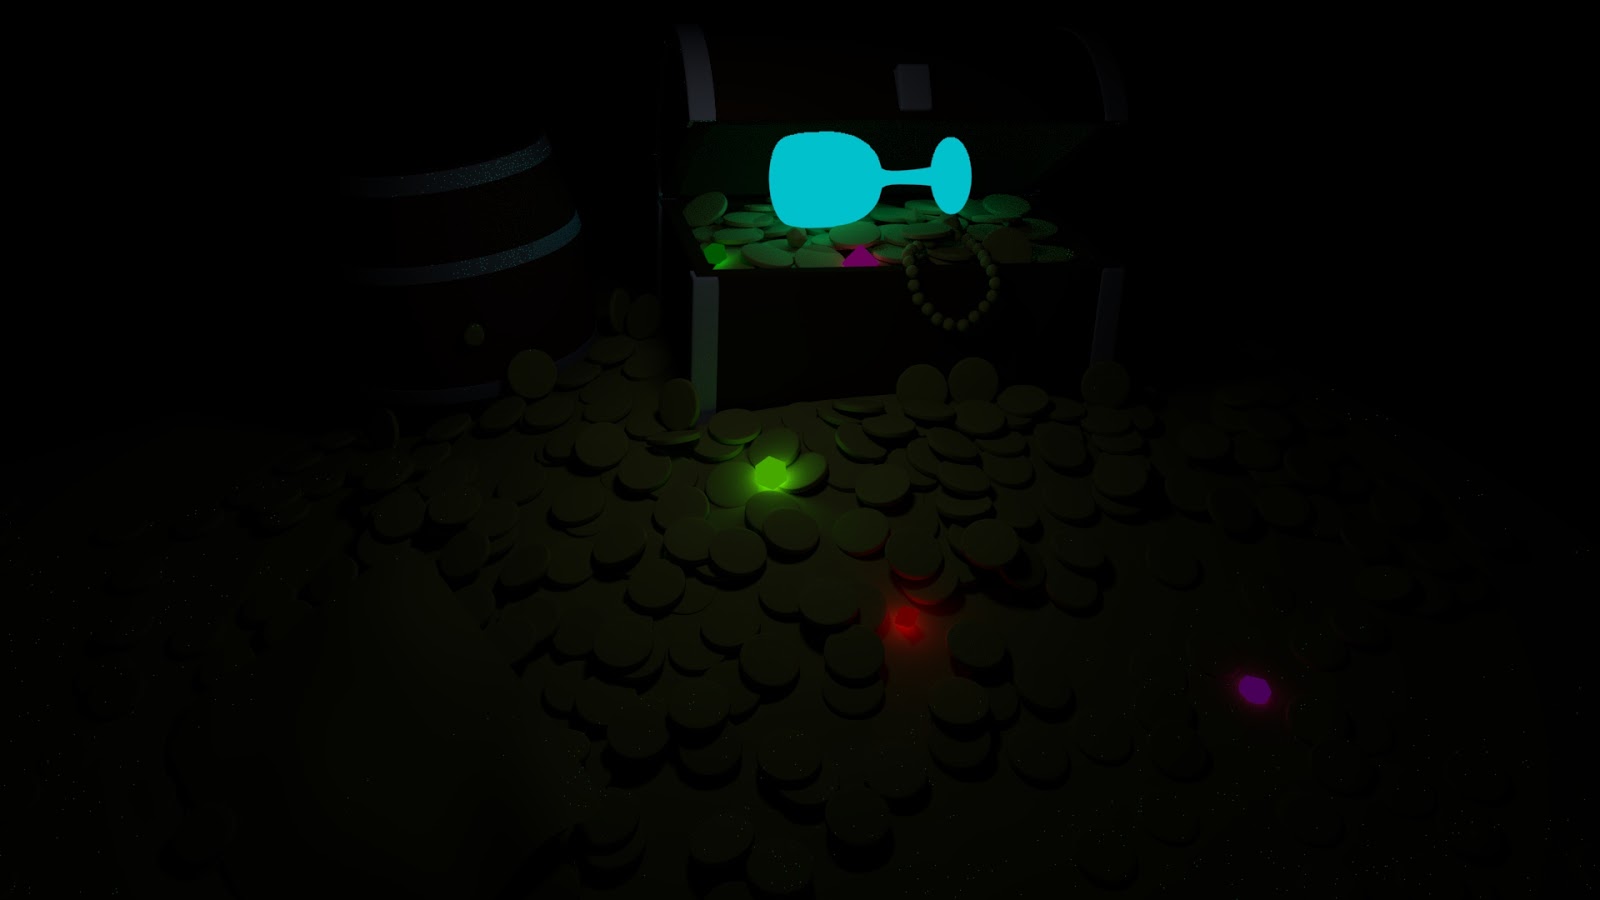
We rendered a scene using the depth of field settings in the Arnold tab on Maya, we then added a filter over the top to make a vignette using a ramp shader. Because of the way this came out I thought it would be fun to take it into Photoshop, give it a sepia filter and make it look like a scene from an old Noir movie.
Showing posts with label Maya Tutorials. Show all posts
Wednesday, 11 October 2017
Wednesday, 4 October 2017
Maya - Shading and Lighting Tests,
Today we were doing some tests with Arnold shaders and material settings, we used three shaders today: The Wire-Frame Shader, The Ambient Occlusion Shader, and the Skin Shader with textures and assets from EAT3D
Wire-frame
Ambient Occlusion
Skin Render
(Head Asset supplied by eat3D.com)
Thursday, 28 September 2017
Maya - Arnold Test Renders
We were testing out some lighting settings in Arnold yesterday in class, I went to remake the scene at home but found this weird powdery effect from the lights, almost like you can see glitter around the image.
Overall though one I have it all figured out I feel that Arnold will be a very Powerful tool.
Friday, 19 May 2017
Maya Tutorial (Evidence) - Render and Turnaround
I used the Render and Turnaround Tutorials to produce this:
Maya Tutorial - UV Maps
Here are the finished UV Maps of Jetpack Jones.
Didn't get a chance to texture him but I was able to texture the UV of my adaption model which you can see here (for ease of mind)
Friday, 6 January 2017
Maya Tutorials - Figure Posing.
(There seems to be a bug in the upload where the kick loops, I've tried to remove it but it only happens after I've uploaded it.)
Tuesday, 10 May 2016
Tuesday, 3 May 2016
Maya Update
I'm currently in the process of labeling every post on my blog, for ease of access, hopefully it will be done today, I am also rendering my last completed Maya tutorials which are the Lighting and Texturing ones, which due to my crippled PC are taking their good time rendering, they will also be up later today.
Maya Tutorial - Alley Way
While I did not finish the Alley Way tutorial, I followed it step for step in the production of my "What If Metropolis" scene - which can be found:
http://bradleeking.blogspot.co.uk/2015/12/what-if-metropolis-final-lighting-and.html
http://bradleeking.blogspot.co.uk/2015/12/what-if-metropolis-final-set-assembled.html
http://bradleeking.blogspot.co.uk/2015/12/what-if-metropolis-textured-scene.html
http://bradleeking.blogspot.co.uk/2015/12/what-if-metropolis-final-lighting-and.html
http://bradleeking.blogspot.co.uk/2015/12/what-if-metropolis-final-set-assembled.html
http://bradleeking.blogspot.co.uk/2015/12/what-if-metropolis-textured-scene.html
Subscribe to:
Posts (Atom)
-
Before I finish the final design and Orthograph's I wanted to nail down what Nigel's head fin looks like. So below I've made so...
-
Here are my final concept designs for the centre piece building of my final piece, please chose which ever one (or more than one) you like t...
-
This term we took part in a clay sculpting work shop that was lead by Alan, I was unsure what to think about this as I had no prior experie...